

Preparing for IPL at home doesn't begin with the first flash of light, but long before that; with rest, regularity, and proper preparation of your skin and your surroundings. An IPL treatment only becomes truly comfortable and effective if you know what steps to take beforehand, what to avoid, and how to create your own skincare ritual.
In this guide, we'll take you step-by-step through the preparation for an IPL treatment at home, so you can get started with confidence, safety, and comfort.
What exactly does IPL do and what doesn't it do?
Before we delve into the steps for preparing your IPL treatment, it's important to be clear about what IPL actually does.
What IPL does do
- IPL (Intense Pulsed Light) works with light flashes that are absorbed by the pigment in the hair (melanin).
- The light energy is converted into heat, damaging the hair follicle and thereby inhibiting new hair growth.
- With consistent use, hair growth can visibly decrease and return softer and finer.
What IPL does NOT do
- IPL does not remove hair immediately like shaving or waxing; it is a gradual process.
- It is not a medical laser treatment or a medical therapy.
- IPL is less suitable for very light, gray, or red hairs (low pigment) and for very dark skin types (safety risk due to too much pigment in the skin).
- It is not a solution for hormonal hair problems; medical advice is always needed for those.
With this realistic foundation, it becomes clear why good at-home preparation is so important: you help your skin, your hair, and your routine work optimally with IPL technology.
Preparing for IPL at home: the basic conditions
Before you start your at-home IPL treatment, you'll go through a few important checks. This ensures not only better results, but especially safe and comfortable use.
1. Check your skin type and hair color
Not every combination of skin and hair is suitable for IPL.
Pay attention to the following at home:
Do you have very light hairs (blonde, gray, red)?
Then IPL is often less effective because there is little pigment to absorb the light.
Do you have very dark skin?
Then there may be too much pigment in the skin, making IPL too intense and increasing the risk of burns or discoloration.
Do you have active skin problems (eczema, wounds, sunburn, infections) in the area to be treated?
Then postpone the treatment until your skin is calm and healed again.
When in doubt: it's better to be extra cautious once than to start too early once.

2. Avoid sun and self-tanner beforehand
Light and pigment are at the core of IPL, which is why sun exposure before treatment is an important consideration:
- Avoid sunbathing and tanning beds on the areas to be treated for approximately 2-4 weeks before your IPL session.
- Wear sun protection (SPF) on visible areas if you are outdoors.
- Do not use self-tanner or spray-tan on the areas you wish to treat: this interferes with light measurement and can affect skin reaction.
The more natural and stable your skin tone, the more predictable the reaction to the light flashes.
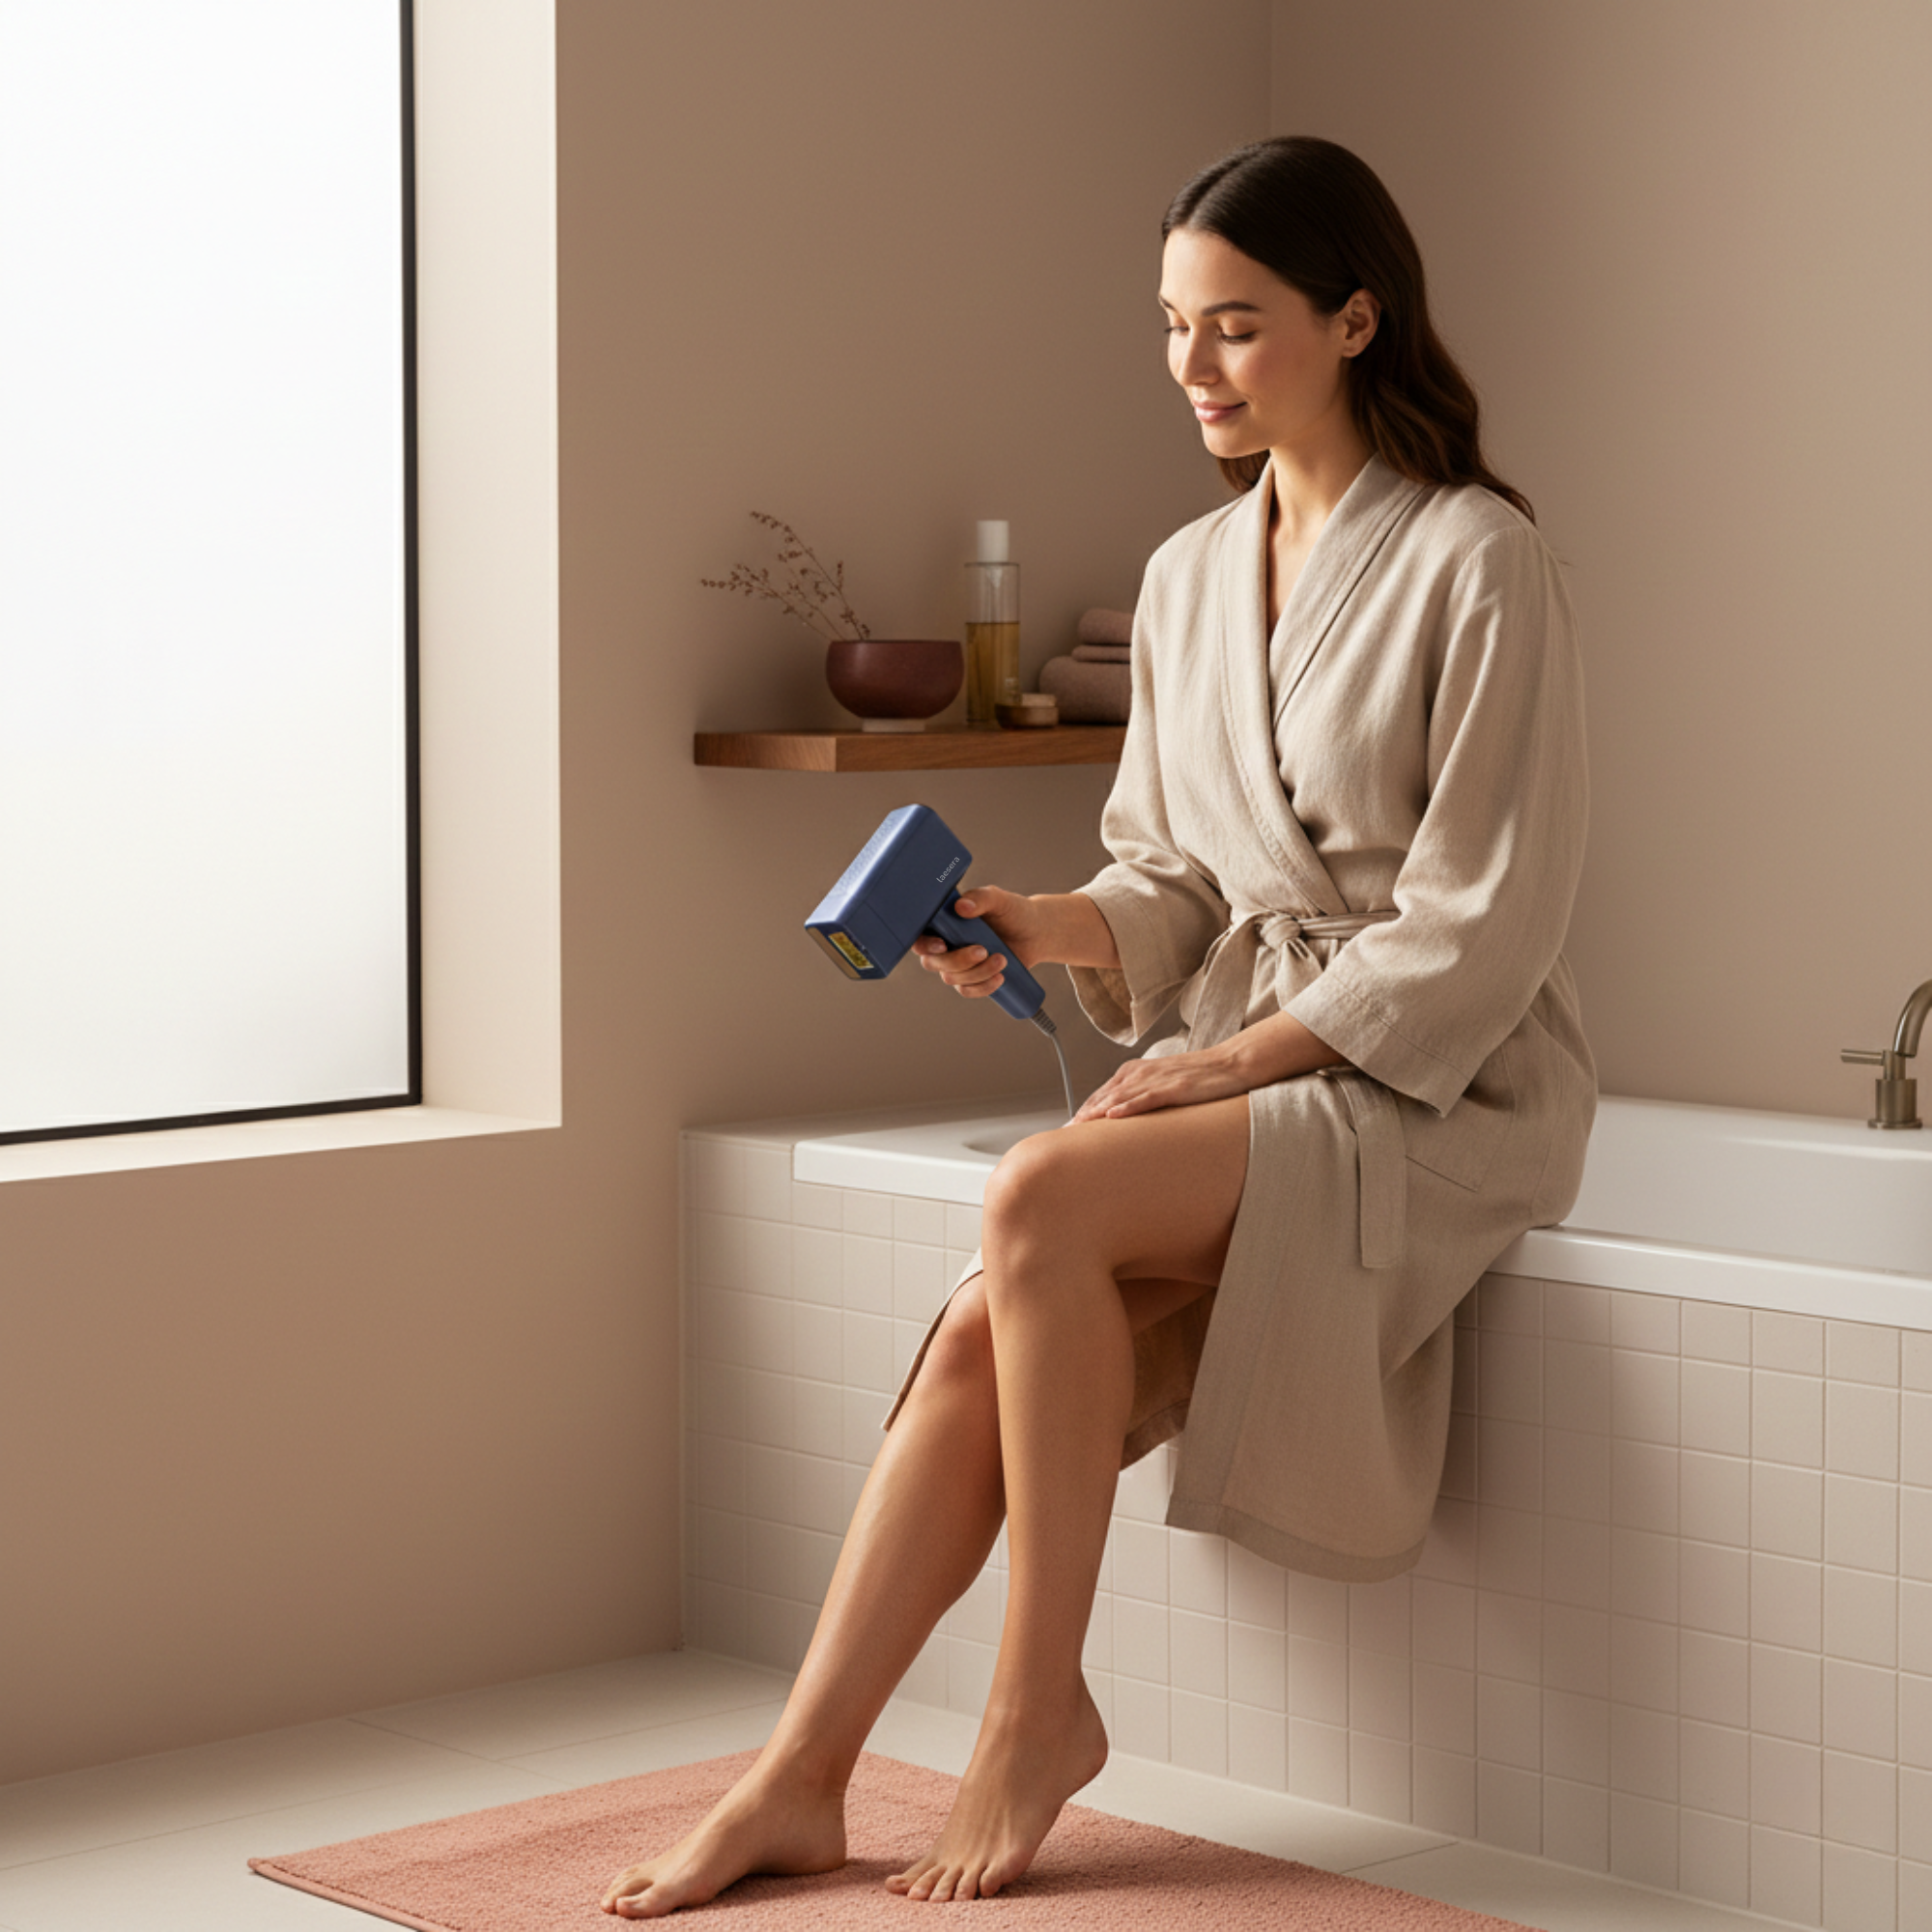
Step-by-step plan: how to prepare for your IPL treatment at home
This is the heart of your question: how can you prepare for IPL at home? Below you will find a calming, clear step-by-step plan that you can follow around each treatment.
Step 1: Choose a quiet, comfortable space
Your environment determines more than you think:
- Ensure sufficient light so you can see the skin well.
- Choose a place where you are undisturbed (no rush, no distractions).
-
Gather everything you need:
-
IPL device
-
Razor
-
Clean towel
-
Optionally, mild, fragrance-free cleanser
-
Cushion or chair where you can sit comfortably
-
An IPL routine becomes much more pleasant if your environment radiates calm – fitting for a Laesera moment for yourself.
Step 2: Cleanse the skin (but gently)
Before you prepare for an IPL treatment at home, clean skin is essential:
- Use a mild, pH-neutral cleanser without harsh acids or scrubbing particles.
- Remove make-up, deodorant, cream, and oil from the area to be treated.
- Then gently pat the skin dry with a soft towel.
Avoid on the day of treatment:
- Strong exfoliants (AHA/BHA peels)
- Retinol or other intensive active ingredients on the area to be treated
You want the skin to be as calm and neutral as possible.
Step 3: Shave hairs 24 hours in advance
This is perhaps the most important step in preparing your IPL treatment at home:
- Shave the area to be treated 24 hours before the IPL treatment.
- Make sure the hairs are present in the hair root, but no longer protrude above the skin.
- Avoid waxing, epilating, or sugaring in the weeks before your IPL: these remove the hair root, and it is precisely there that the light needs to reach.
Why 24 hours beforehand?
- Immediately after shaving, the skin may still be slightly irritated or sensitive.
- By waiting a day, any minor shaving irritations have time to calm down, while the hair root is still intact.
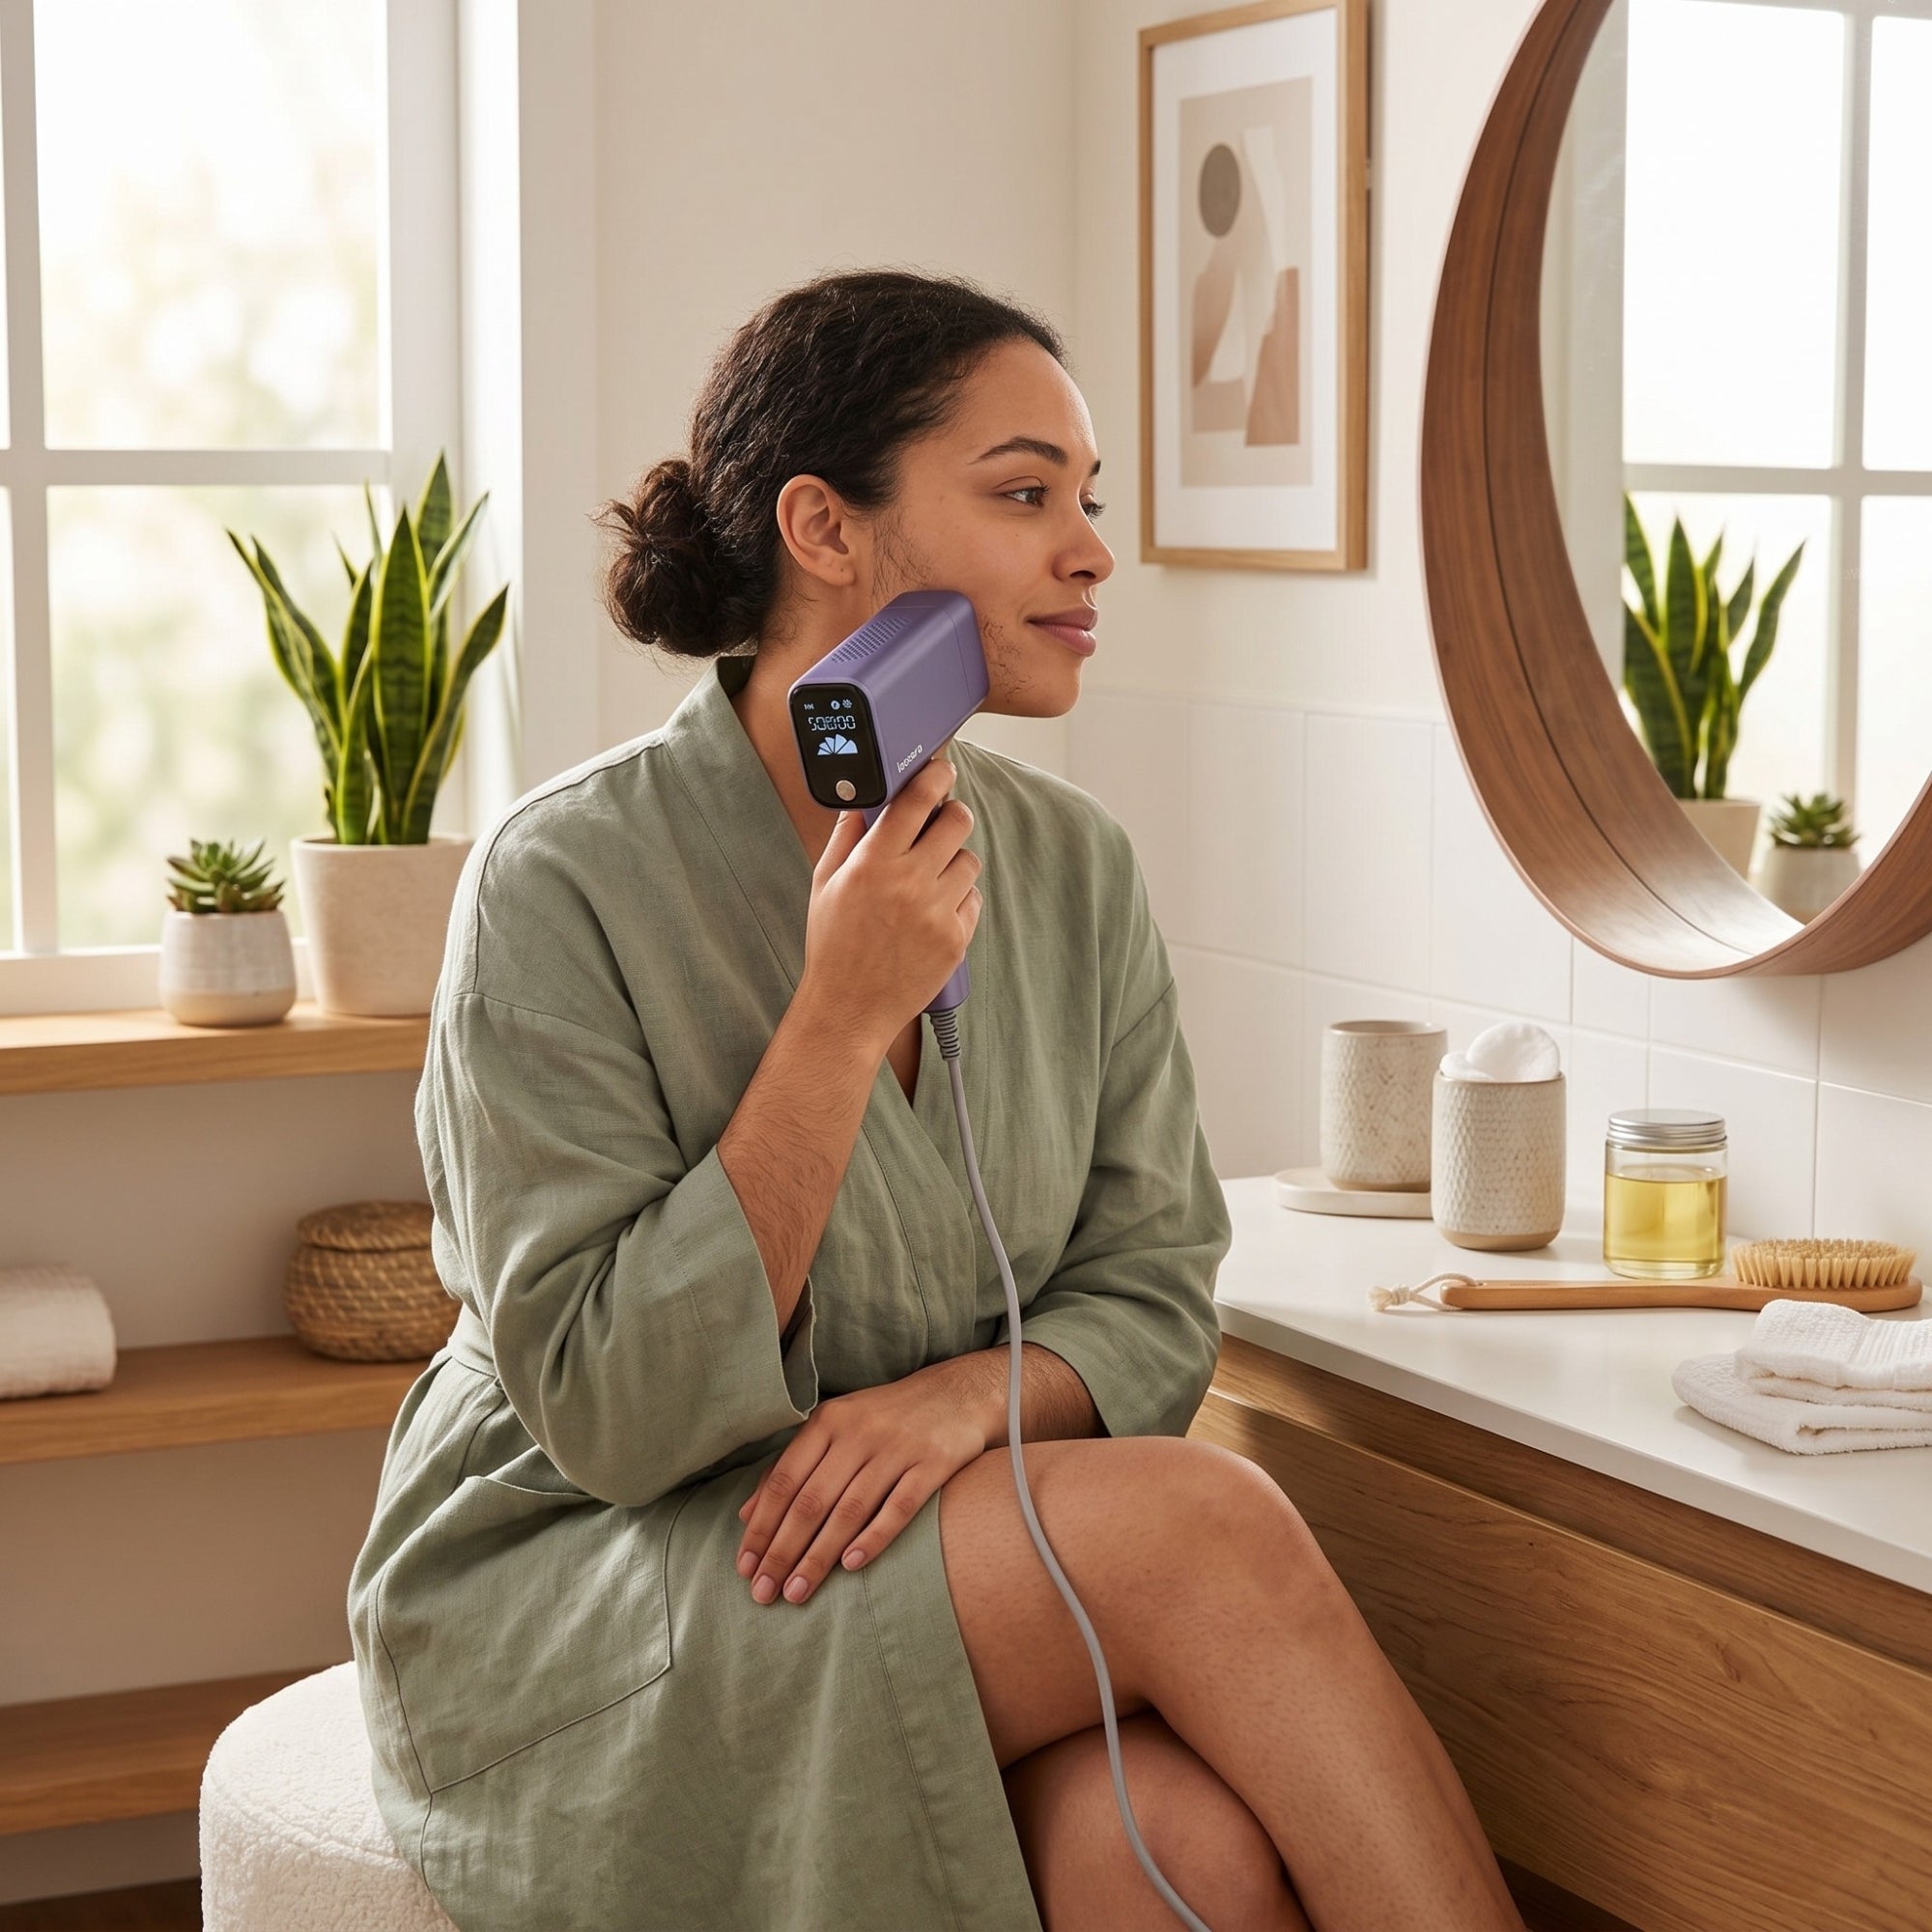
Step 4: Check the skin just before treatment
Just before turning on the device, carefully check your skin again:
Look for:
- Red, irritated spots
- Open wounds, scratches, or shaving cuts
- New moles, dark spots, or suspicious areas
- Active acne or inflammations
If you're unsure about a mole or spot? Skip the area and have a professional look at it first.
Immediately before the flash: final at-home preparation steps
Now that your skin is clean, shaved, and checked, you can take the final steps in preparing for your IPL treatment.
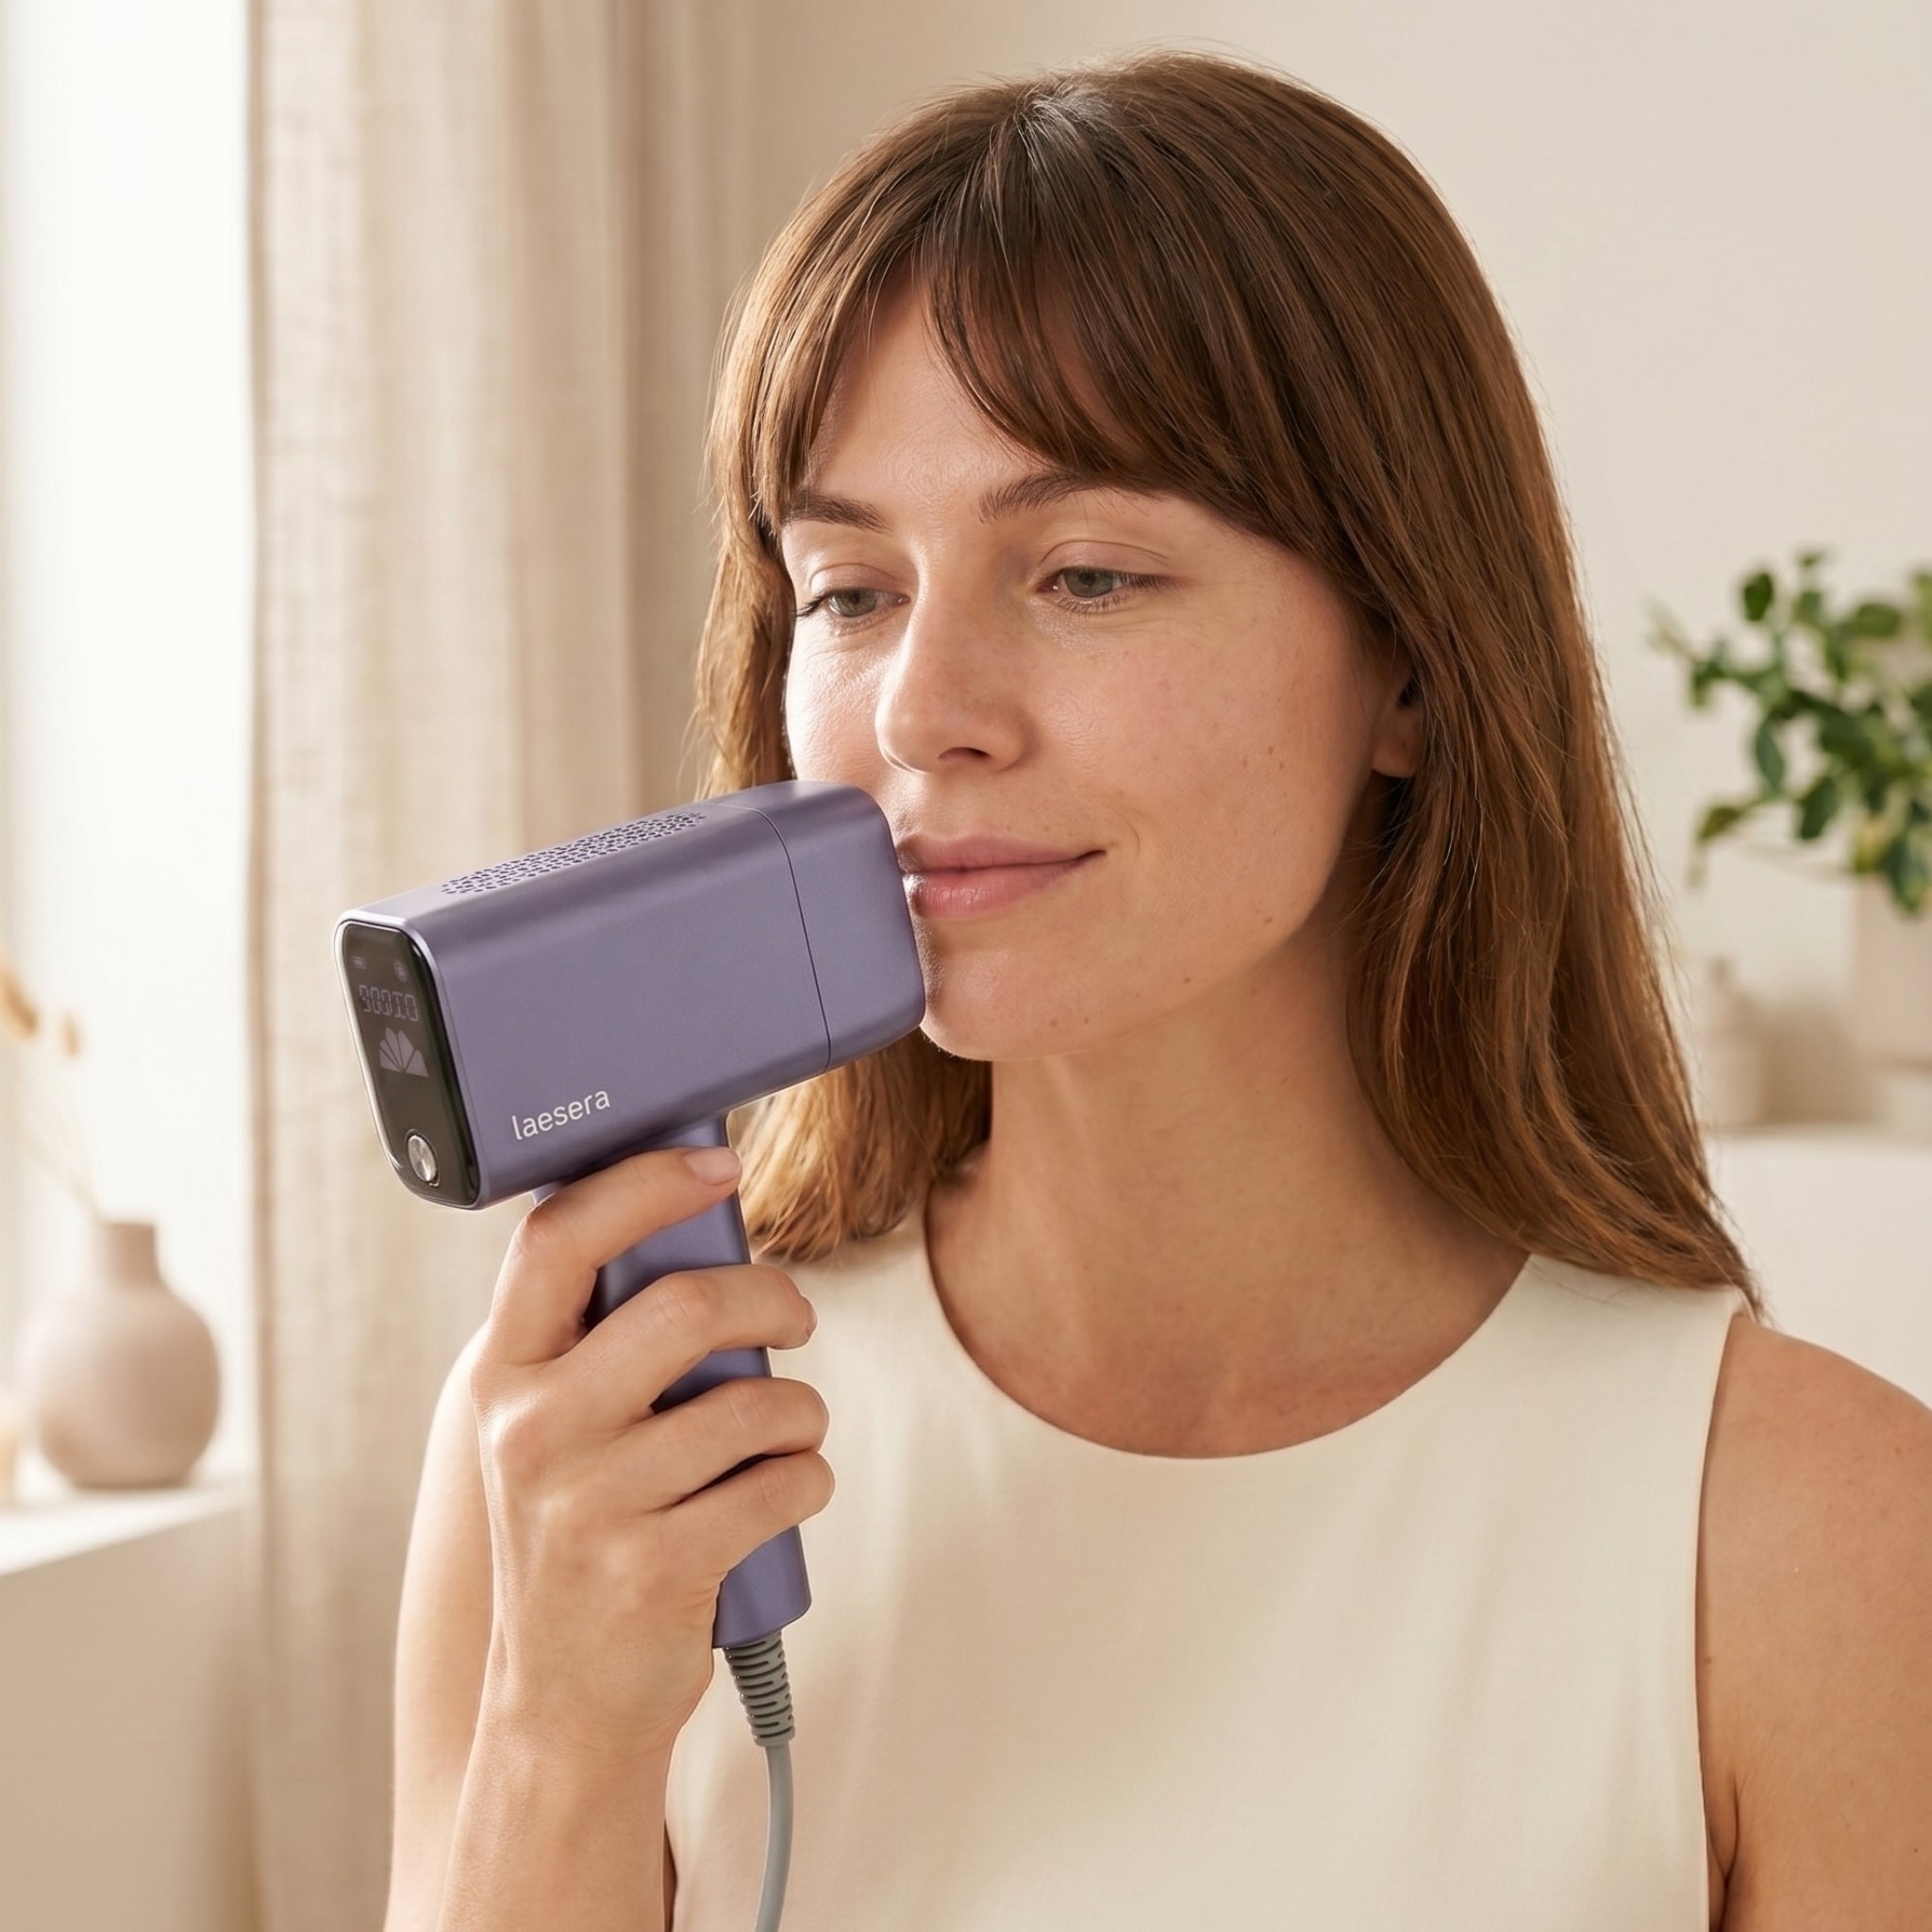
Step 5: No cream, oil, or deodorant
Before you begin:
- No body lotion, oil, perfume, or deodorant on the area to be treated.
- No sunscreen directly on the area during treatment (but on surrounding skin if necessary, not under the light window).
These products can form a layer on the skin, which:
- Reduces the efficiency of light transmission.
- Distributes heat differently, which can cause irritation.
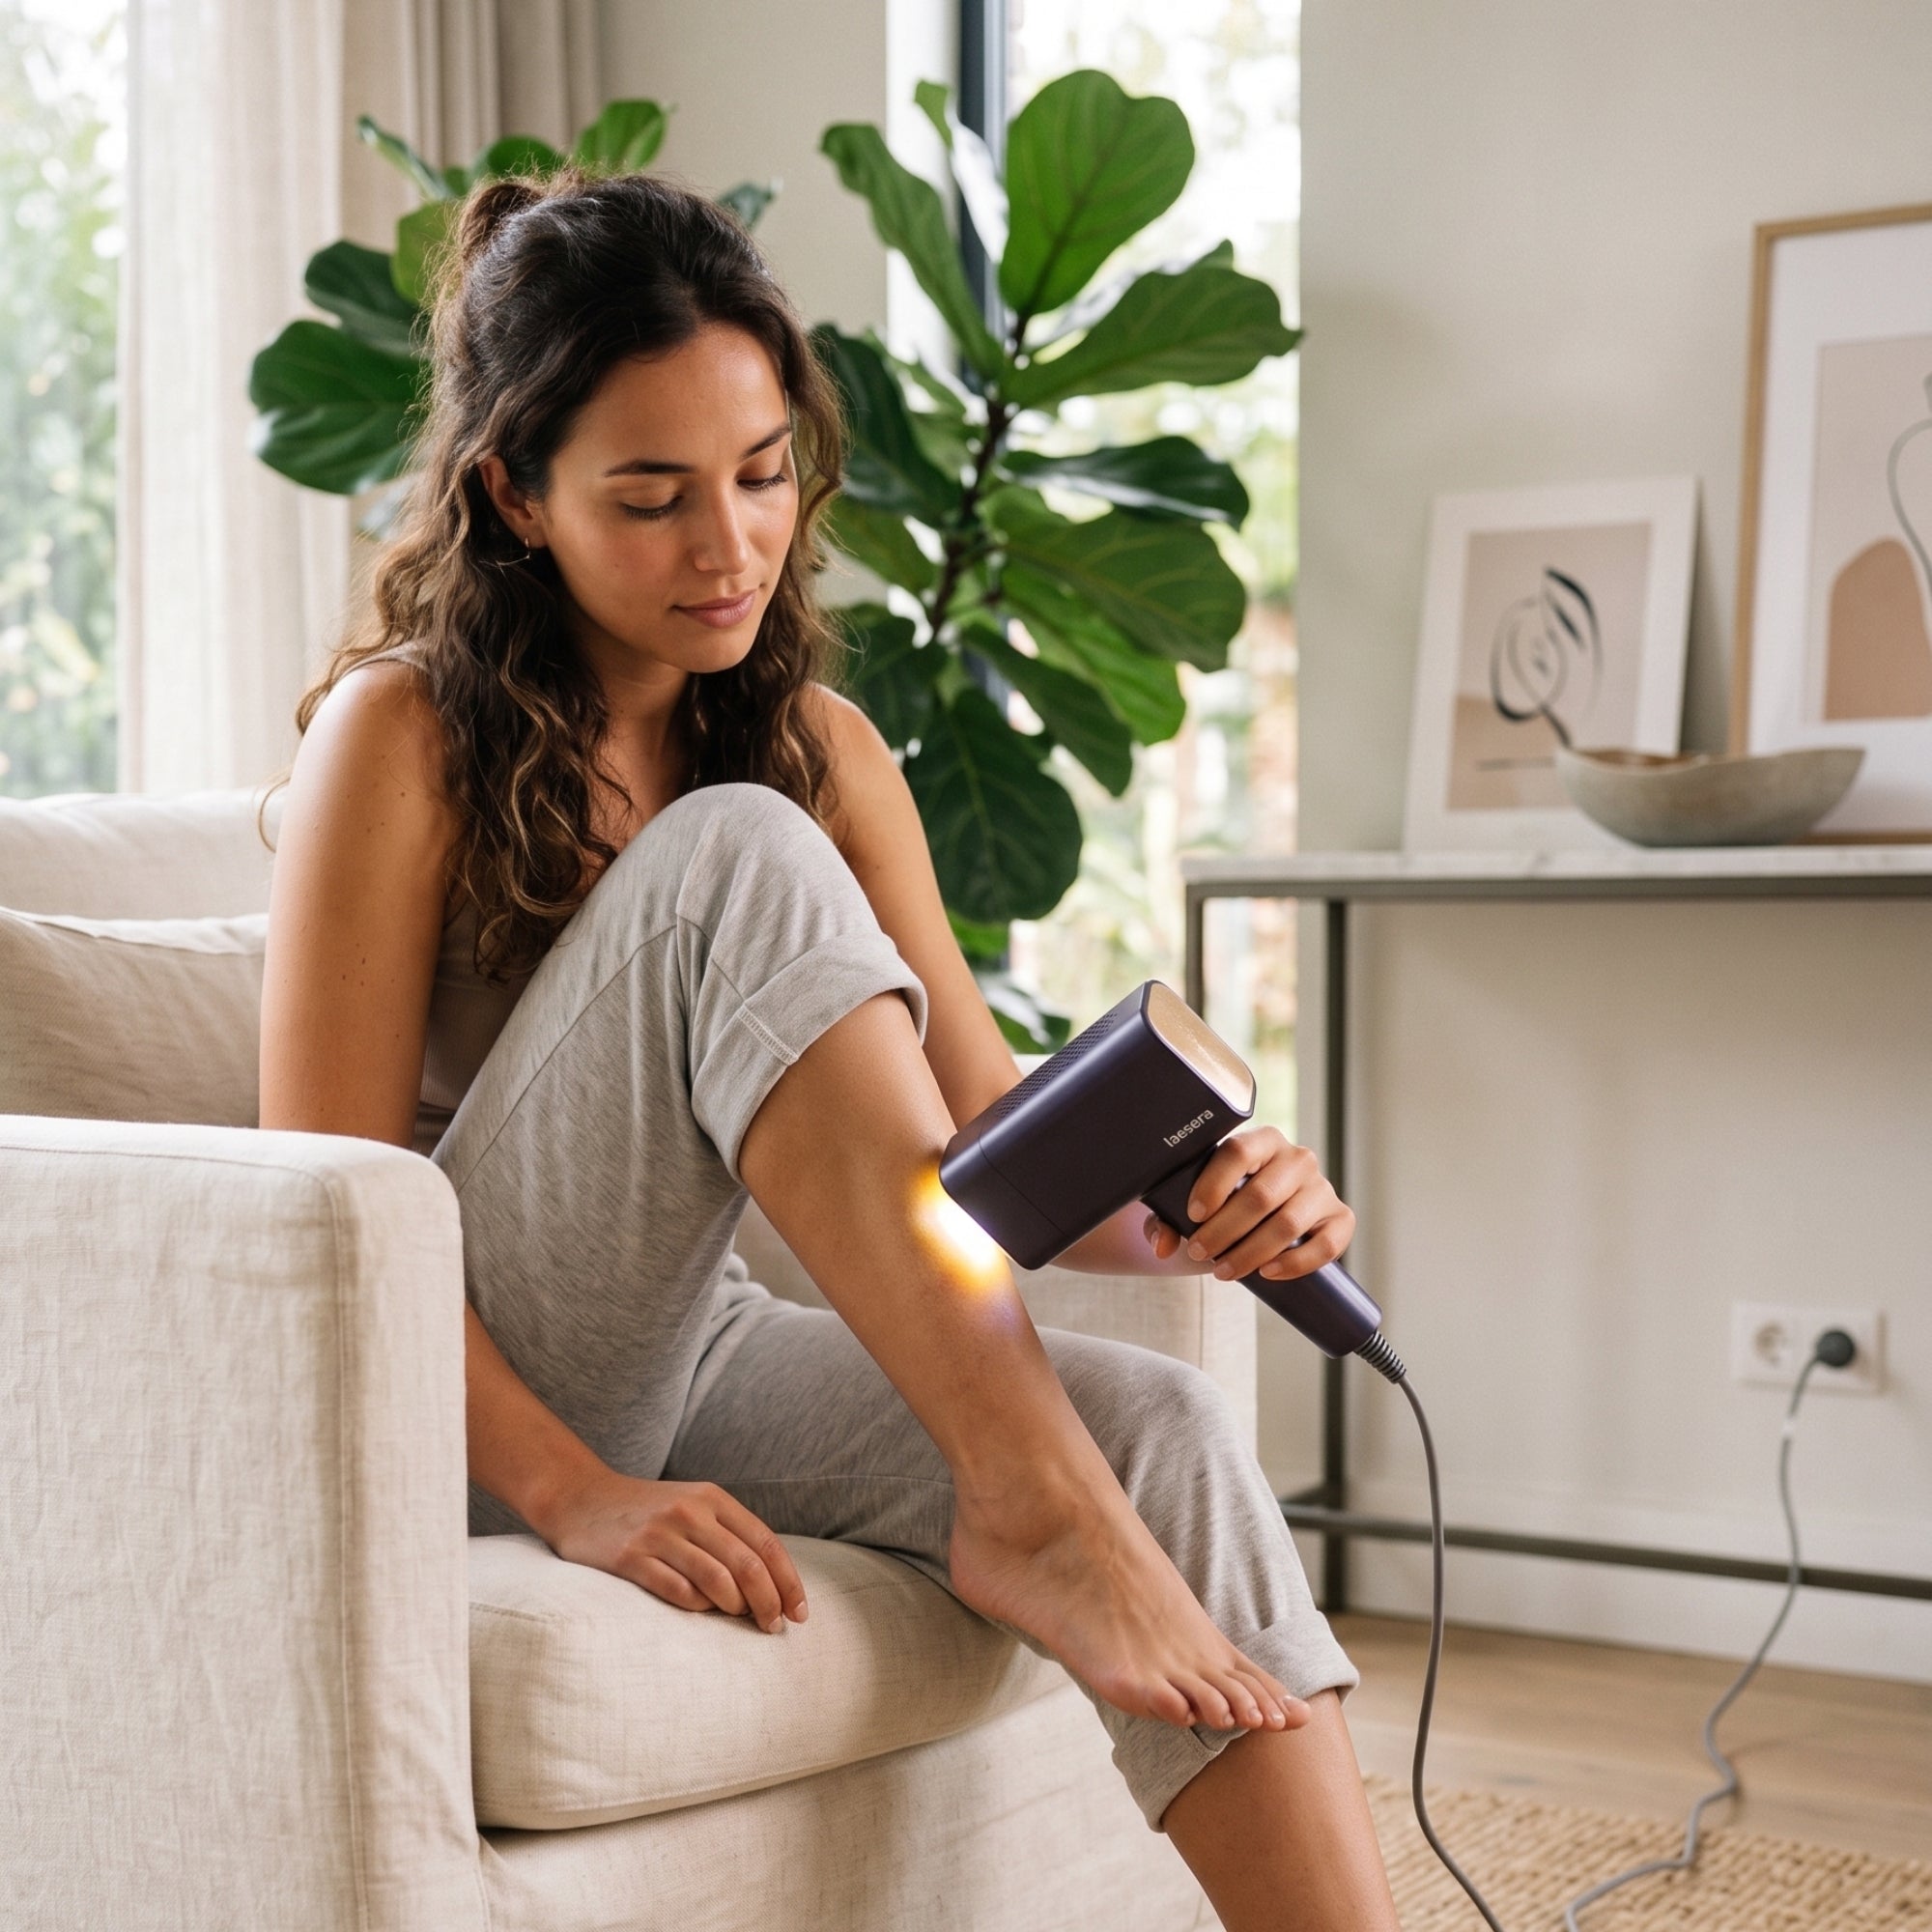
Step 6: Set the correct intensity level
A premium at-home IPL device comes with clear intensity settings. There are often multiple settings for different skin types.
General guidelines:
- Always start with the recommended level for your skin type according to the manual.
- When treating an area for the first time, you can start with a lower intensity to feel how your skin reacts.
-
Do you feel burning, sharp pain, or an uncomfortable sensation?
-
Stop immediately.
-
Lower the level or skip the area.
-
Cool down with a soft, cool compress if necessary.
-
After treatment: care and aftercare
Preparation doesn't stop when the device turns off. Gentle aftercare is part of the complete at-home IPL routine.
What you CAN do
- Use a mild, fragrance-free hydrating gel after treatment.
- Wear clothing that does not chafe or cut along the treated area.
- Cool the skin with a cool (not ice-cold) compress if there's slight warmth or redness.

What you should avoid for a while
After your IPL treatment:
- Avoid hot showers, saunas, and intense exercise in the first few hours.
- Avoid direct sunlight on treated areas and use a high SPF if you go outdoors.
- Do not use scrubs, acids, or retinol on the treated areas in the first few days after treatment.
Who is IPL less suitable for at home?
Transparency is part of a safe experience. Preparing for IPL at home also means being honest about when it's better not to treat (yet).
IPL is less suitable or not recommended for:
- Very dark skin types
- Very light, gray, or red hairs (low pigment)
- Pregnant women (often advised against as a precaution, always check the manual)
- Use of photosensitive medication (consult your doctor if in doubt)
- Active skin diseases or infections at the treatment site
If in doubt, it is advisable to seek professional or medical advice before starting.
| Step | What do you do? | When | Important |
|---|---|---|---|
| 1 | Check skin and hair type | Before you start IPL | Not every skin/hair color is suitable; if in doubt, do not treat. |
| 2 | Avoid sun & self-tanner | ± 2-4 weeks before | No tanning beds or self-tanner on the areas to be treated. |
| 3 | Shave (do not wax) | ± 24 hours before | Hair root remains, skin has time to calm down. |
| 4 | Cleanse skin | Immediately before | Clean, dry skin without cream, oil, perfume, or deodorant. |
| 5 | Choose intensity & treat | During | Start with appropriate (possibly lower) level and stop at sharp pain. |

Your own IPL ritual: calm, repeatable and all yours
Proper preparation for your at-home IPL treatment is not a one-time checklist, but a ritual you repeat again and again:
- Check skin and hair
- Create a calm, clean environment
- Gently cleanse skin
- Shave 24 hours in advance
- Immediately before treatment: no cream or oil
- Choose the correct intensity
- Gentle aftercare with attention to your skin
This way, IPL becomes not a rush job, but a calm, nurturing moment in your own home.
Shares:
Best IPL 2026: Why Lasera Nova One is the Smartest Choice
Why is at-home IPL hair removal so popular?